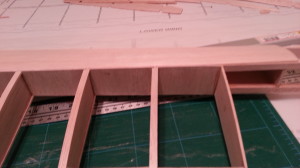
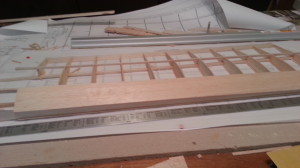
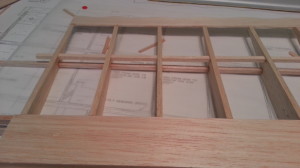
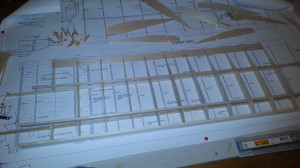
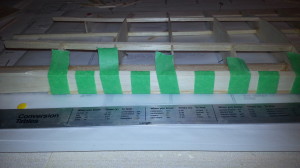
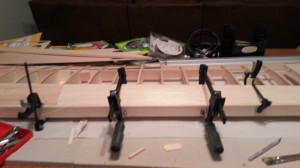
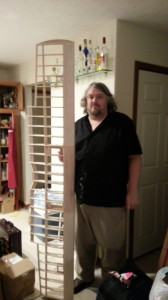
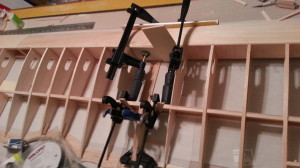
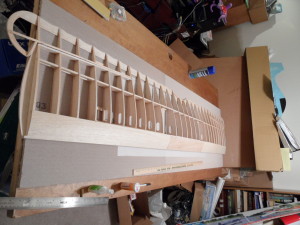
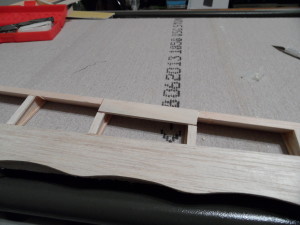
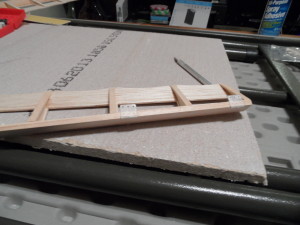
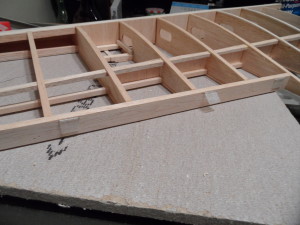
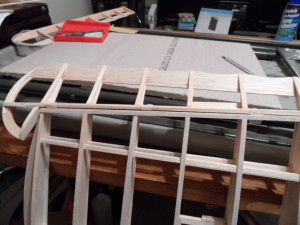
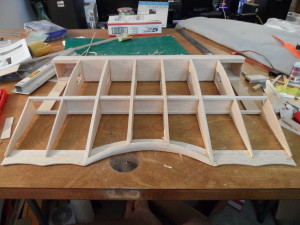
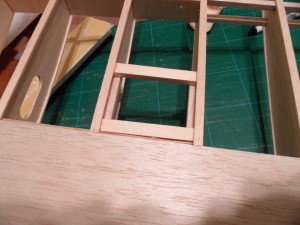
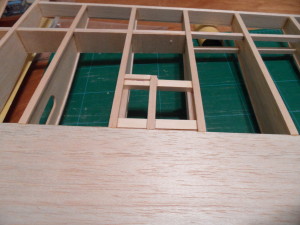
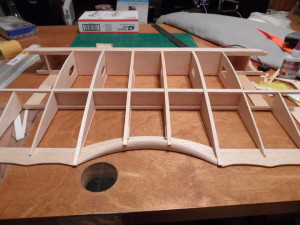
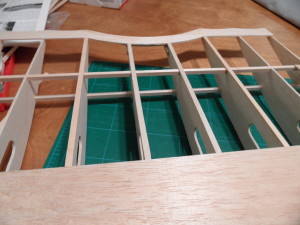
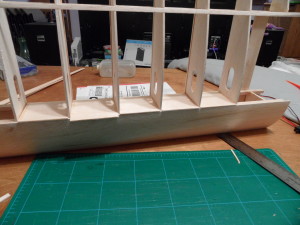
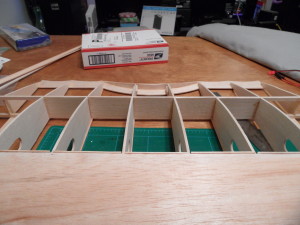
Next the shear webs are added to the wing, and the top cap strips.
Author: Gary
Top sheeting and cap strips
Beginning the bottom wing
Of course, the Fokker D.VII is a biplane, so that means of course that after the top wing is done, well, there’s another one yet to be built. Here we have the ribs and spars laid out, and the inner leading edge glued in place.
Then the bottom sheeting is put into place. I’m finding that it’s going a lot better than it did on the top wing. The join between the sheeting and the leading edge is much more uniform than it was when I did the top wing.
Leading edge
Finishing up attaching the outer leading edge to the top wing.
And here we are, finally, 2 years and 4 months after I started this project, and I finally have the top wing done. This may yet be the slowest build project ever (although I have a few years to go to beat the last plane I built from a kit). (Ok, technically it’s not quite complete. The leading edge hasn’t been shaped, mainly because I don’t want to do that inside, and it’s been way too cold to do that work outside.)
(Sorry, some of my plane photos are somewhat blurry from now on, I’ve been using the cell phone to take the pictures, and it doesn’t do a great job).
Joining the wing
Laying out the wing
Now that all three panels of the wing are done, the next step is to lay it out and put it together. Had to clear off the whole building board to be able to do this. Sticks over both ends of the table by just a little bit. Have to admit, it’s one thing to look at the measurements on the box, but when you actually lay out the wing, man, it looks huge.
Aileron hard points and hinging
Trimming cap strips and installing servo rails
Next the cap strips that were installed get trimmed to length.
Then it’s back to the outer wing panels to install the servo rails for the servos. I’m going for a simple exposed servo install here, mainly because it’s easier. First the rails are installed.
Then some structure is built up around where the servo is going to go to give us some structure to attach the covering to.
Upper cap strips
Cap stripping and shear webs bottom center
Not entirely sure what happened, but it seems like I don’t have any pictures of a bunch of stuff between the last post and this one. In that time, I finished up the wing panel and then did the other top wing panel, then started the center section. Most of the center section is also done by the time I get to these photos. If I ever locate them I’ll post them, but for now, onwards.
Here we’re cap stripping the bottom of the center section:
Then we have the front shear webs in place:
And this time around I actually remembered to do the rear shear webs at the proper time.
